June 2, 2013
I can't believe it's been so long since I've posted on this page!! Sorry Beccaboo!!! I just got around to taking pictures of Sammie in this fabulous skirt I made her earlier last month. I'm soo glad it turned out right!
Enough talk, I'll get on with it...here's how to make a ruffly skirt for your favorite gal...

Step one: Get the Materials needed. (This project is so easy that it only requires very few materials! Yay! Right?)
-Old knit jersey XL T-shirt (if you are wondering what a knit jersey T-shirt is, it's just a regular T-shirt that is made of that amazingly soft knit fabric...no kidding!) I stole one of my brother's old T-shirts that was too big for him.
-Sewing machine
-Pins
-Elastic (I used a 1 inch width elastic-about the length of my little sister's waist + 1 inch)
Step two: Measure how long you want the skirt, I just guessed but was sure to leave enough for the ruffles. If you want it longer than mine, I would suggest getting a second T-shirt for the ruffles. I cut it about half way.

Step three: Cut at the length you want it, and set the bottom portion aside.


Step four: Turn the top portion of the shirt inside out and cut out one of the side seams.


Step five: Place a medium sized bowl on the top of the corner of the shirt and mark with a fabric marker (use one that won't bleed through the fabric) around the bowl. I just did little dashed lines around mine so that there would be less chance of anyone seeing the line.


Step six: Cut out circle and then spiral around. I didn't cut out a complete circle out ( I left about a one inch tab at the top) so that the ruffle would have an even thickness. I cut the ruffle out about one inch, but if you want thicker ruffles, make the spiral 2 or 3 inches thick. Also, I am good at eye-balling spiral shapes pretty well (practice makes permanent!), but if you aren't totally amazing at that sort of thing, I would suggest getting that handy dandy fabric maker out again and drawing the spiral on.


The end product should look like this:

If stretched out it should look like this...easy ruffle!!!

Continue to repeat steps 5-6 for the rest of your fabric. Be sure to avoid little emblems (like the eagle on this particular shirt), seams, and tags, or printed washing instructions.

Step seven: Stretch out your ruffles and measure them to the height of the bottom piece of the shirt. Cut them at the measurements, and pin them on the bottom piece (from now on referred to as piece A). You should have about 17-18 ruffles. I used a cardboard cutout to make sure I lined them up straight and evenly spaced.

When you are finished, it should look like this. Take notice that I only pinned ruffles on one side of the skirt. If you want ruffles on both sides, I would suggest getting another T-shirt.

Step eight: Sew the ruffles on the fabric.

Step nine: Fold the top (the portion without the already sewn hem) over about 1/4 inch around the entire top and iron. Then, fold that over-about the width of your elastic + 1/4 inch- and pin down.
Step ten: Sew around the edge of the top of piece A, leaving only a two-inch space next to one of the side seams.
Step eleven: Attach a large safety pin to one end of the elastic, and slide through the tube you just sewed (I use a safety pin because then I can feel it easier and the elastic won't twist).

Step twelve: Place the two elastic ends on top of each other, and make sure that the elastic is not twisted at all around the length of the skirt. Sew on top of the elastics a box with an "X" in the middle. You can just sew a straight line down both sides, but I've found that the "XBOX" stays better. The "XBOX" (my nickname for it) prevents tearing of the elastic from happening and prevents future repairs from having to be fixed.
Step thirteen: Let the elastic slide into the skirt and fold the open 2-inch edge on top of it. Make sure there are no bunches before sewing the fold down.
Step fourteen: Give to that little girl you hold so special, and watch her twirl around in it! These are some pictures I took of my little sister:


Isn't it just adorable?


I couldn't resist! Her feet were just too perfect.

Look at those blue eyes. Yep, that's a boy catcher right there! Can't wait 'til she's older, and all the boys are falling at her feet over those blue eyes.


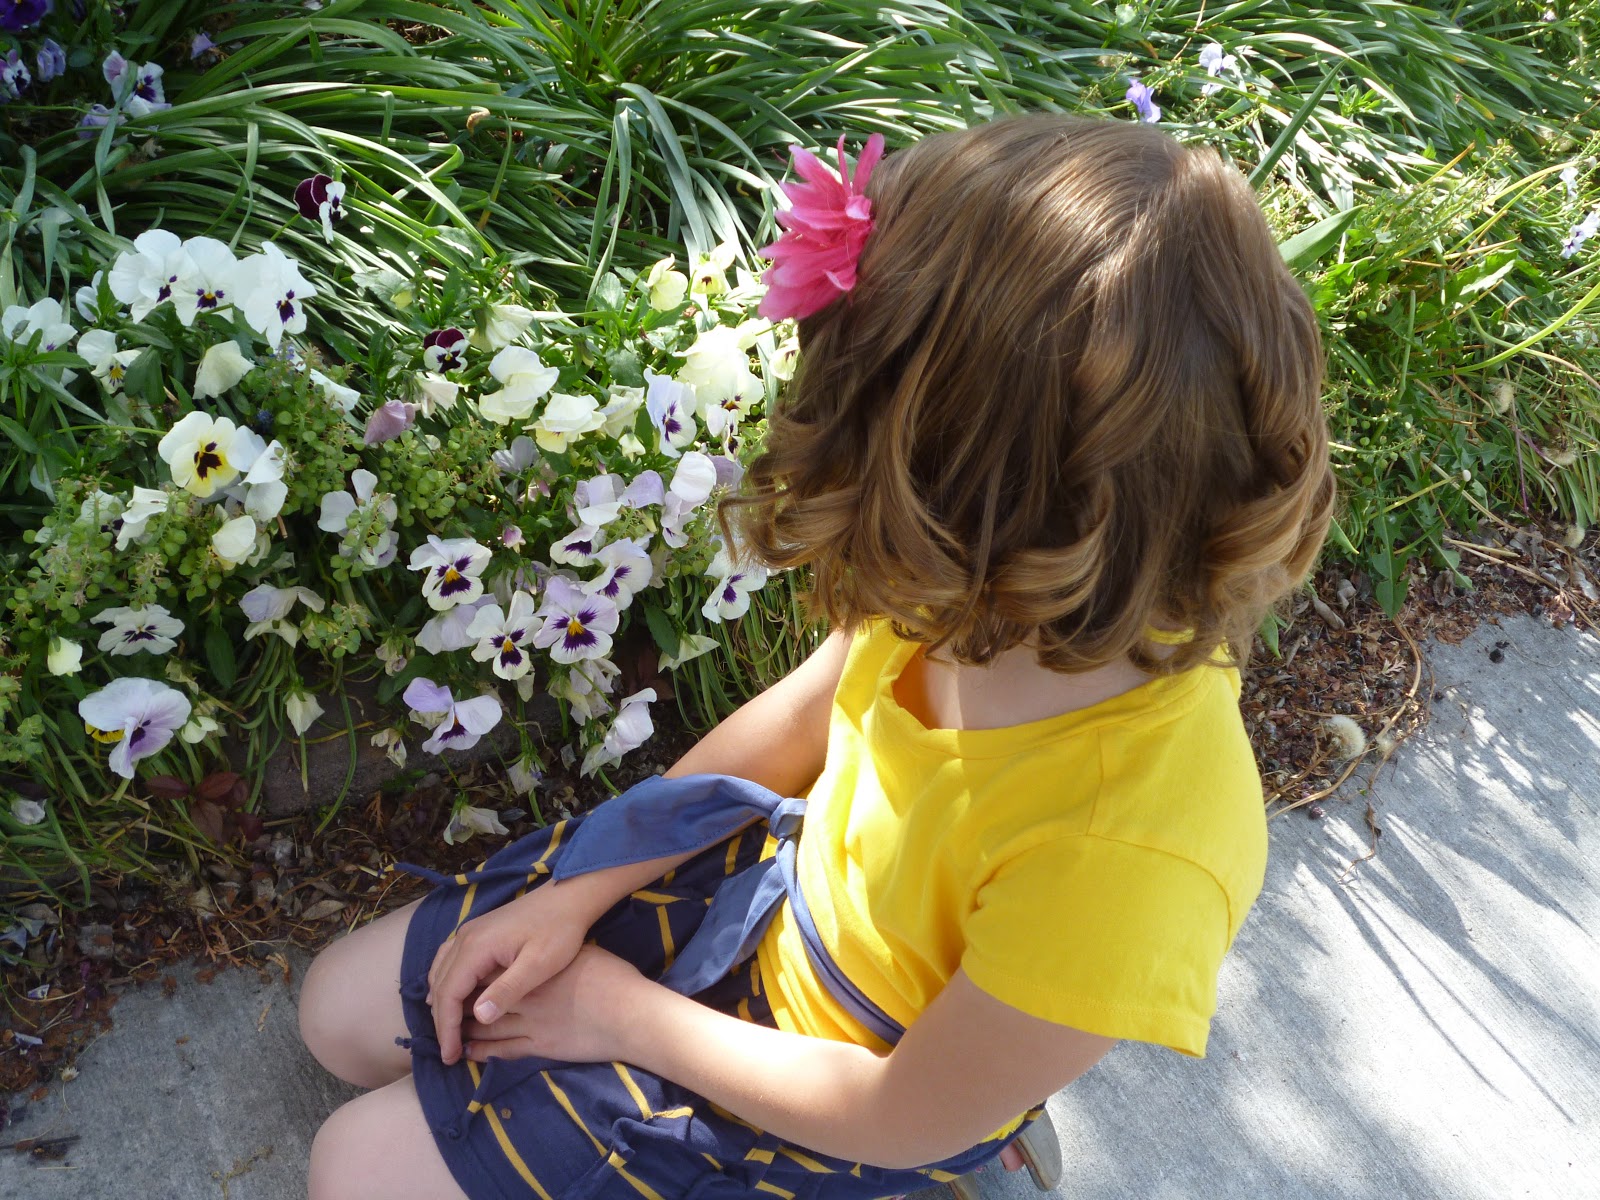


I told her we were done...until I spotted this perfect little patch of clover with a single pansy and begged her to take a few more pics.


She made me take this one...which is why it's not outside...I wonder why? haha. She is just too cute. Thanks Sammie for being my model!! :)

Alls
p.s. sorry for the not very pretty pictures...I'm not all that great at pretending to be a professional.
August 13, 2012
Ok, Here's how to make an adorable paper flower!
Step one: Get the Materials needed.
-Paper (doesn't matter how big, as big as you want the flower.)
-Pencil
-Scissors
-Wire (Flower wire, can be found in craft stores)
-Flower tape (Can also be found in craft stores)
-Hot glue or tape
Step two: Locate the paper.

Step three: Draw a spiral on the paper.


Step four: Cut along the spiral.

Step five: Erase extra lines. (this makes the flower look neater)

Step six: Curl the paper starting with the edge. (You may use a pencil, or skewer to start this out.)

Step seven: Tuck the middle underneath.

Step eight: Grab the wire.

Step nine: Bend the wire in half, and twirl the two sides together.


Step ten: Locate the florist tape.

Step eleven: Wrap the florist tape around the wire.


Take the bottom (middle of spiral) and stick the wire through. You may want to use a tack, or safety pin to make a small hole in it first.


Step twelve: OPTIONAL Hot glue the wire to the middle, and stick a bead on it.


Optional: Wrap wire around your wrist to create bracelet.


And Vwahlah!! An amazingly cute flower in just minutes! Enjoy!!
No comments:
Post a Comment